Massage Gun Inflammation Science: Evidence-Based Protocols
By Aiko Tan • 31st Mar
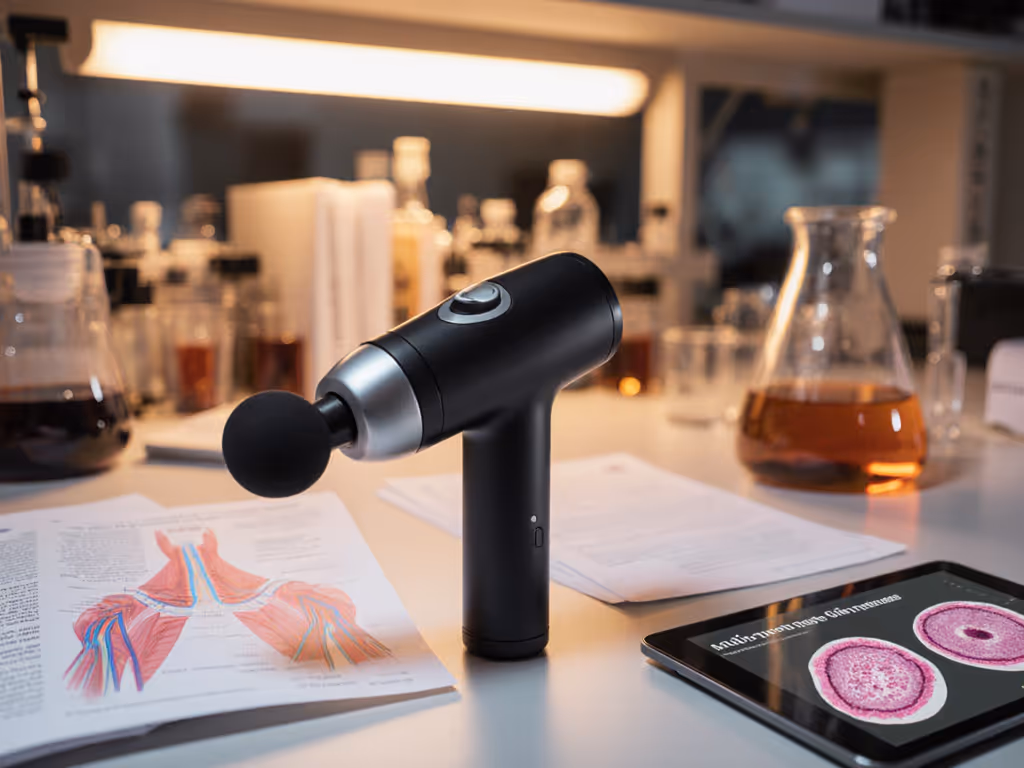
Massage gun inflammation science and chronic inflammation massage therapy work through a specific biological mechanism: percussion-delivered vibration alters vascular function and reduces inflammatory markers in targeted tissue.[1][3] Rather than marketing noise, the evidence shows that percussive therapy triggers measurable improvements in blood flow, muscle stiffness reduction, and pain signaling, outcomes that matter to anyone managing inflammation through recovery routines or managing chronic tension.
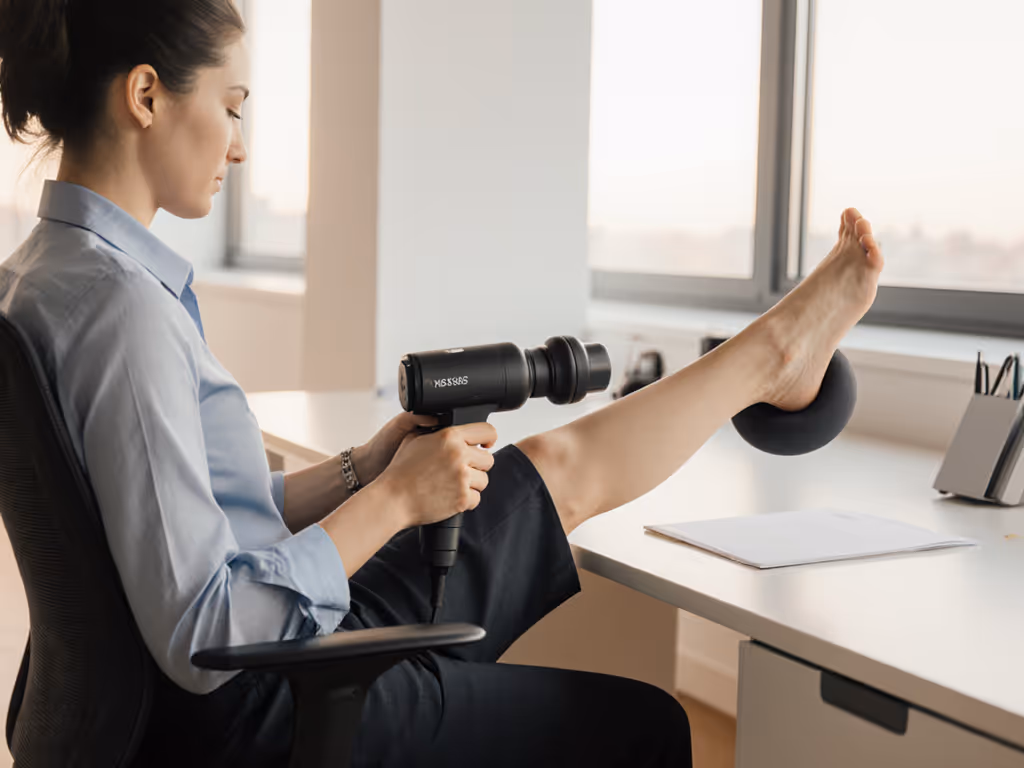
The challenge, however, isn't understanding the science. It's integrating the tool into real life without friction. I learned this the hard way on a red-eye years ago (mid-aisle testing of a hyped device earned three glares). The charger was proprietary, the case consumed half a carry-on pocket, and it rattled the tray table. What followed was a quiet, USB-C model that now lives beside my passport. Gear should disappear until needed, especially on the road. Frequent flyers will appreciate our airplane-friendly massage guns guide for quiet, USB-C options that pass security and fit in carry-ons. The same principle applies to your desk, your gym bag, or your recovery corner: the device that vanishes into routine is the one that actually works.
Let's walk through the science and then build your inflammation-focused protocol, not as theory, but as actionable steps tied to what the research actually shows.
How Massage Guns Reduce Inflammation: The Science Layer
Step 1: Understand the Vascular Mechanism
Percussive therapy doesn't just feel good; it alters nitric oxide and acetylcholine signaling in muscle tissue, increasing vasodilation and shear stress in capillaries.[1] In plain terms: the vibration forces blood vessels to open wider, forcing more oxygen and nutrient-rich fluid into tight, inflamed areas.
A recent clinical study confirmed this. Research published in peer-reviewed journals found that single sessions of massage gun therapy increase acute muscle strength and flexibility[3], with the strongest gains showing up in tissues that were previously restricted or sore. The mechanism is real, not placebo.
Step 2: Track the Lactic Acid Flush
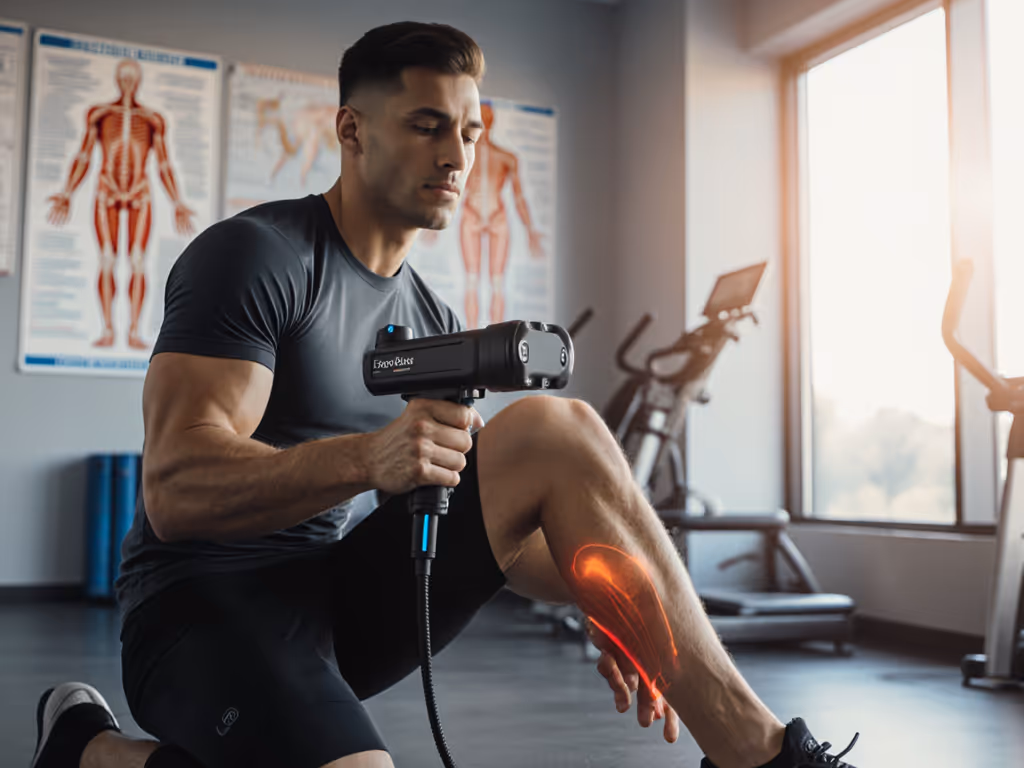
One of the most measurable ways massage guns reduce post-exercise inflammation is through inflammatory marker reduction. After intense activity, lactic acid accumulates in muscle fibers, triggering soreness and stiffness.[6] Percussion forces muscle fibers to release trapped metabolic waste. Clinical data shows that massage gun users see 9.6% decreases in lactate concentration compared to 8.1% in control groups, a small difference on paper, but one that translates to noticeably less soreness within 24 hours.[1]
The practical takeaway: use your device within 15 minutes post-workout on the specific muscles you fatigued. Spend 1-2 minutes per major area (quads, hamstrings, glutes, calves). This is when the flushing effect is strongest. For a deeper dive into soreness biology and protocols, see our DOMS massage gun science explainer.
Step 3: Recognize the Range-of-Motion Window
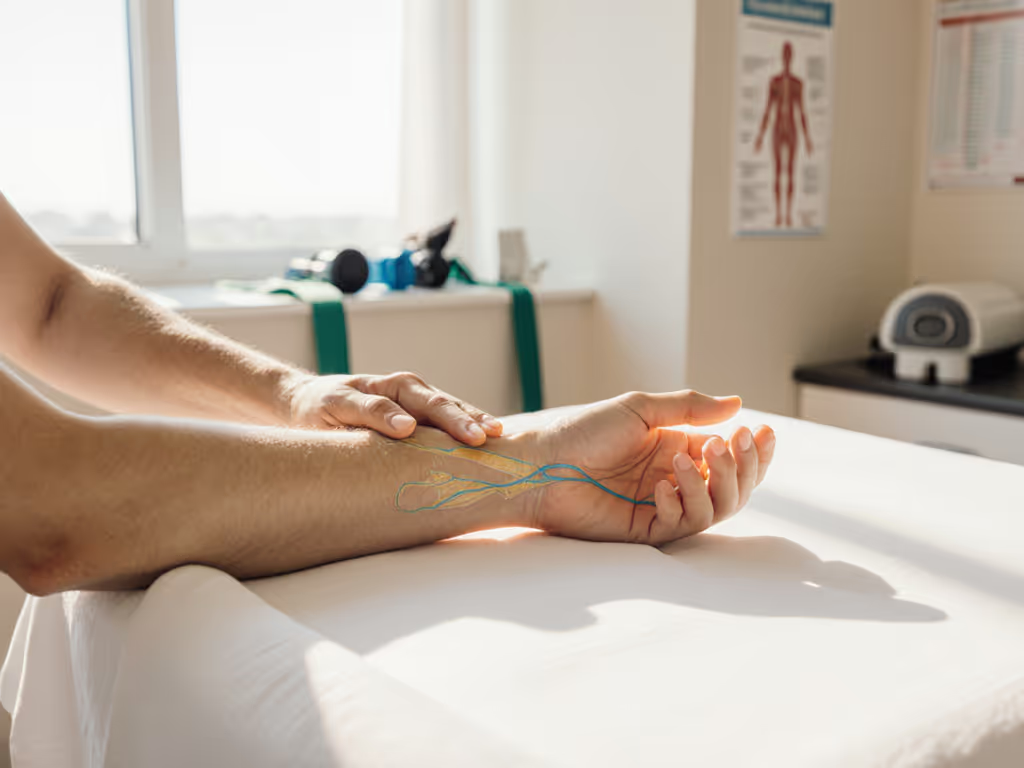
Massage guns show their strongest evidence in acute flexibility and range-of-motion gains.[1][3] Studies tracking shoulder internal rotation, hip mobility, and ankle dorsiflexion consistently show 2-5° improvements within a single session.[1] This matters for immune response modulation: chronically restricted tissue accumulates inflammatory cytokines; expanded mobility allows lymphatic drainage and fresh blood perfusion.
Quiet, USB-C, pocketable (travel tools must disappear when not used), yet their impact on mobility and inflammation can shift an entire day.
For this step, apply massage gun therapy for 30-60 seconds on muscles adjacent to your restricted joint. If your hip is tight, target the glutes and hip flexors, not the joint itself. Get a 4-minute plan and study references in our range of motion protocol.
Build Your Protocol: Constraints-First Framework
Your inflammation-reduction protocol depends on three constraints: time, noise, and access. Most users abandon devices because protocols feel too long, too loud, or impossible to reach solo.
Protocol 1: Pre-Movement Activation (5 Minutes, Desk-Friendly)
Why: Mobilize restricted tissue before repetitive work (sitting, typing, standing on a factory floor) to prevent inflammatory accumulation.
Execution:
- Neck and shoulders (30 seconds each side): Avoid the spine and bony areas; target the trapezius muscle belly and posterior shoulder. Light pressure only (this area bruises easily).
- Upper back (1 minute): Apply to the space between shoulder blade and spine (the thoracic area where desk workers accumulate tension). Slow, deliberate passes.
- Hip flexors (1 minute): Stand, lean against a wall, and apply to the front of the hip (the iliopsoas). This muscle gets hammered by prolonged sitting.
- Glutes (1 minute): Sitting or side-lying, apply to the gluteus medius and maximus. Deep tissue here; this is where many people carry chronic tightness linked to lower back inflammation.
- Calves (1 minute): 30 seconds each leg. Tight calves restrict ankle mobility and create compensatory strain up the kinetic chain.
Constraints met: Under 5 minutes, works at any desk or coworking space, and requires a quiet motor (under 60 decibels) so you're not broadcasting your recovery routine.
Protocol 2: Post-Effort Flush (8 Minutes, High Priority)
Why: Interrupt the inflammatory spike following intense activity (strength training, running, HIIT) when perfusion therapy for inflammation is most effective.[1]
Execution:
- Primary fatigued muscles (4 minutes): If you ran, prioritize calves, hamstrings, and glutes. If you lifted, focus on the muscle groups that took the load (quads after leg day; pecs and triceps after upper body).
- Accessory muscles (2 minutes): Target muscles that stabilize or support the primary movers (e.g., hip abductors if you ran; rotator cuff if you pressed heavy).
- Recovery breathing (2 minutes): Do not use the device here. Sit or lie down and focus on diaphragmatic breathing. This activates the parasympathetic nervous system and completes the inflammatory reset.
Constraints met: Short enough to do before a shower; loud enough frequencies (30-46 Hz) are acceptable post-workout because you're in a private space; targets the exact tissues that need flushing.
Protocol 3: Micro-Break Tension Release (3 Minutes, Anywhere)
Why: Interrupt chronic tension buildup during the workday before it crystallizes into pain or postural dysfunction.
Execution:
- Neck base (30 seconds each side): Gentle pressure where neck meets shoulders (a site of chronic tension for screen workers).
- Mid-back (1 minute): Sitting upright, apply perpendicular to the spine along the thoracic paraspinals.
- Forearm extensors (30 seconds each): Desk workers and lifters both accumulate tension here; this small intervention prevents tennis elbow risk.
Constraints met: Under 3 minutes; quiet operation critical (under 50 decibels); small attachments work better than large heads; fits into a desk drawer or laptop bag.
Safety and Contraindications: Non-Negotiable
Before you begin any protocol, screen for contraindications. Do not apply massage guns to:[1][4]
- Recent scars, open wounds, sunburns, rashes, or active skin infections
- Bruised tissue or areas with bleeding
- Bony surfaces (spine, shin, collarbone)
- Joints directly; only target muscle belly adjacent to the joint
- Areas with decreased sensation (diabetic neuropathy, nerve compression)
- Varicose veins or sites of vascular compromise
If you have an autoimmune condition, consult your physician before starting. While massage gun therapy can reduce localized inflammation, systemic inflammatory conditions require medical oversight. Review our full massage gun safety guide for contraindications, pressure tips, and areas to avoid.
Frequency and Intensity: The Adherence Reality
Research confirms that single applications of percussion therapy improve acute outcomes, but multiple treatments over time reduce chronic pain and inflammation.[3] Practically, this means:
- Minimum effective dose: 3 times per week on problem areas (5-10 minutes total)
- Optimal for active recovery: daily for 5-15 minutes, split across morning activation, post-workout flush, and evening tension release
- Intensity: always use the lowest speed/frequency that achieves relief. You should feel muscle relaxation, not pain. If you're white-knuckling the device or gritting your teeth, you're too aggressive.
The adherence constraint is real. A device that demands 20 minutes, sounds like a dentist's drill, or weighs as much as a shoe will end up in a drawer. Constraint-led framing means choosing a tool that fits your life first, then building habits around it.
Measuring Your Progress
Inflammation reduction isn't always visible, but these markers tell the story:
- Range of motion: Track specific movements weekly (e.g., how far can you bend forward, or how high can you raise your arm overhead). Even 2-3° gains compound.
- Soreness onset time: Post-workout soreness should peak at 24 hours and resolve by 48 hours. If DOMS extends to 72 hours, increase protocol frequency.
- Daily stiffness duration: Morning stiffness should shrink week over week. If you're stiff for 30 minutes on day one and 10 minutes on week three, the protocol is working.
- Pressure tolerance: Over time, you'll tolerate higher speeds comfortably. This signals tissue adaptation and improved perfusion.
Next Steps: Deepen Your Practice
The science supports massage guns as a cost-effective, portable alternative to clinic-based therapies for inflammation management and recovery.[3][5] But protocol adherence hinges on fit: the device that matches your lifestyle, your noise constraints, your travel needs, and your grip comfort becomes the one you actually use.
Start with Protocol 1 this week (just the 5-minute desk activation). Notice where your body feels sticky. Measure your baseline flexibility. Then layer in Protocol 2 after your next workout. Let sensation be your guide, not marketing claims. Once you've built the habit, explore whether higher frequencies or longer durations help, but only if the foundation is consistent.
The recovery tool worth having is the one that disappears into your routine: quiet enough not to announce itself, USB-C charging so you're never stranded, and pocketable so it travels as easily as your phone. Start there. The inflammation science will do the rest.
Related Articles